Getting Started
In this tutorial, you will import the backend app source code into your local development environment, add the Sentry SDK, and initialize it.
Note: If you're using your source code you can skip this tutorial and instead
- Follow the instructions in our Getting Started docs. Notice that you can select the desired platform.
- Continue with Configuration Options
Prerequisites
The demo app source code requires a
Pythondevelopment environment to build install and run the application. Make sure that you have the following in place:- A source code editor (like VS-Code)
- Python3
- Sentry-CLI
- NPM
To start monitoring errors in your application you'll need to create a new project in your Sentry account. Please view the frontend tutorial to learn more about how to create a project and define alert rules.
Step 1: Get the Code
Open the sample code repository on GitHub
Click on
Forkand select the target GitHub account you wish this repository to be forked in toOnce the fork is complete, click on
Clone or downloadand copy the repository HTTPS URL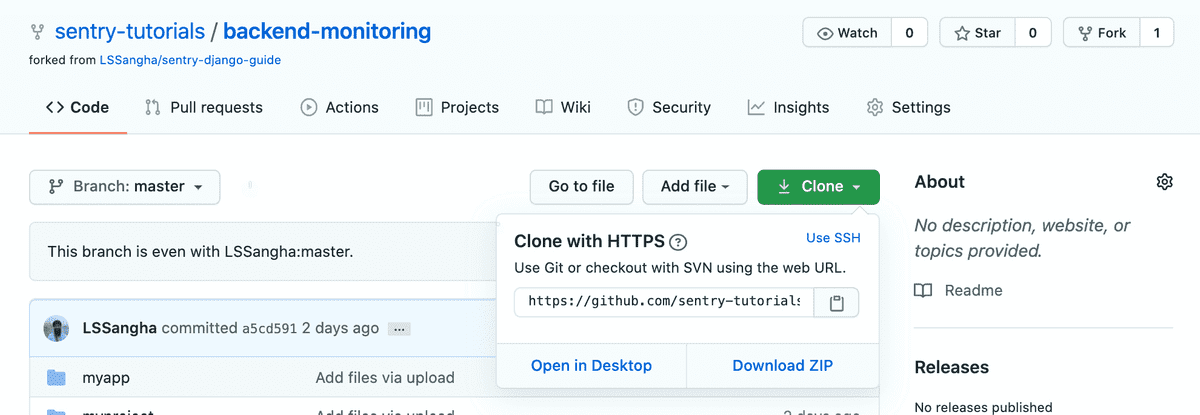
Clone the forked repository to your local environment
Copied> git clone <repository HTTPS url>Now that the sample code is available locally, open the
backend-monitoringproject in your preferred code editor
Step 2: Enable Commit Tracking for your Repository
Sentry can help you resolve your errors faster by suggesting a suspect commit that might have introduced the error into your codebase. This is enabled by configuring Commit Tracking. Integrating your source code management solution and adding your code repositories is required to enable commit tracking, for more information see this link.
- Open your Sentry account and navigate to
Settings > Integrationsto enable the GitHub integration and add yourbackend-monitoringrepository. For more information follow the steps described in Global Integrations > GitHub.
Step 3: Install the SDK
Sentry captures data by using a platform-specific SDK within your application runtime. To use the SDK, import, initialize and configure it in your source code.
To start working with the SDK in our Django app we install the
sentry-sdkby defining the dependency in therequirements.txtfile. The SDK documentation and release information are available in the Sentry SDK GitHub repository.Open the
settings.pyfile (located under _./backend-monitoring/myproject/settings.py). This is where we initialize and configure the Sentry SDK in our application.After importing the Sentry SDK to the app, it is important to import the Sentry Django integration as well. Integrations extend the functionality of the SDK for some common frameworks and libraries.
Copiedimport sentry_sdk from sentry_sdk.integrations.django import DjangoIntegrationIn the Sentry SDK configuration, enter the
dsnkey value you copied from the project created in the previous tutorial.Copiedsentry_sdk.init( dsn="YOUR_DSN", integrations=[DjangoIntegration()] )
Step 4: Install Dependencies & Run the Demo App
To build and run the Demo application on your localhost
Open a shell terminal and change directory to the
backend-monitoringproject root folderIf you haven't installed Python3, do so by running the following:
Copiedbrew install python3Install
virtualenvandvirtualenvwrapper:Copiedpip3 install virtualenv virtualenvwrapper echo "source /usr/local/bin/virtualenvwrapper.sh" >> ~/.bashrc exec bashInstall Sentry's command-line tool to use release tracking and GitHub integration for commit data:
Copiednpm install -g @sentry/cliSetup and activate a Python 3 virtual environment in the project root.
Copiedmkvirtualenv --python=python3 sentry-demo-djangoYou can name the virtual environment whatever you feel that is appropriate, in our case we named it sentry-demo-django
To activate the virtual environment run:
Copiedworkon sentry-demo-djangoOpen the
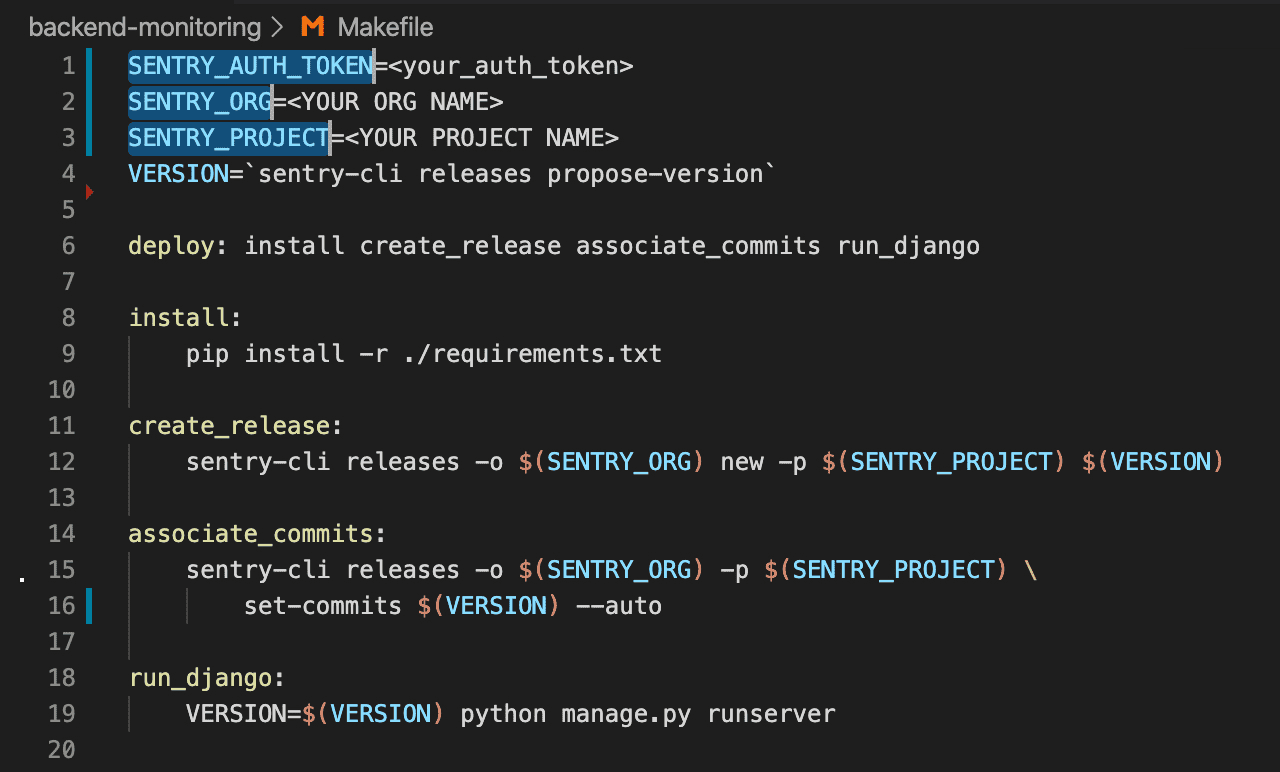
Makefileincluded in the project's root folder. The file is used here to mimic a CI/CD flow.Follow the
deploytarget execution flow.Notice that in addition to installing Python requirements and running the server, we also utilize the
sentry-clito create a new Sentry Release, and associate commits to that release. Sentry will lookup through those commits when suggesting a suspect commit for your project issues. Commands mentioned within the Makefile will be explained in detail in the next part Configuration OptionsTo execute the
sentry-clicommands, follow the instructions described here to obtain the values for yourSENTRY_AUTH_TOKEN,SENTRY_ORG, andSENTRY_PROJECTenvironment variables.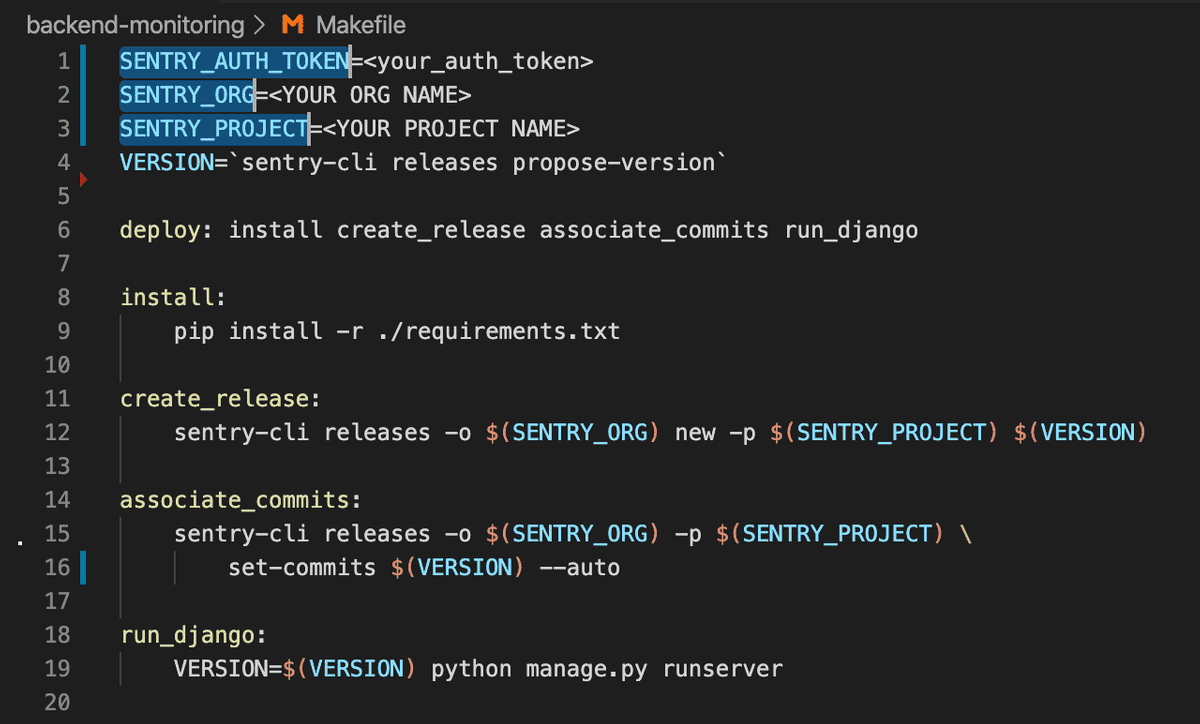
The sentry-cli can be configured by providing these values either through environment variables or through a dedicated configuration file. For more information see Sentry CLI > Configuration and Authentication
Run the following command to install the required Python libraries, set up the Sentry Release, and run the Django server:
Copiedmake deploy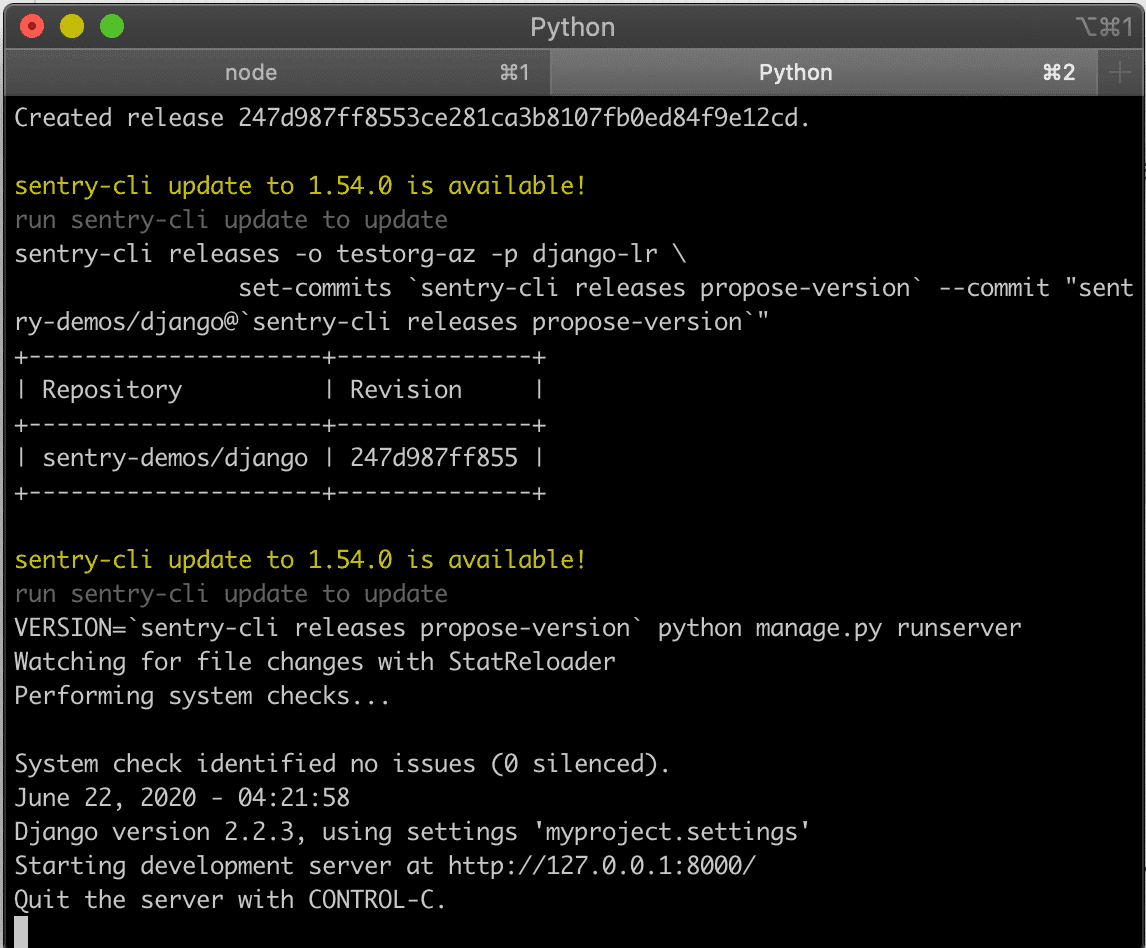
In the terminal, notice that a new release is created and commits are associated with it. Once the deploy finishes successfully, you'll see the confirmation in your terminal